
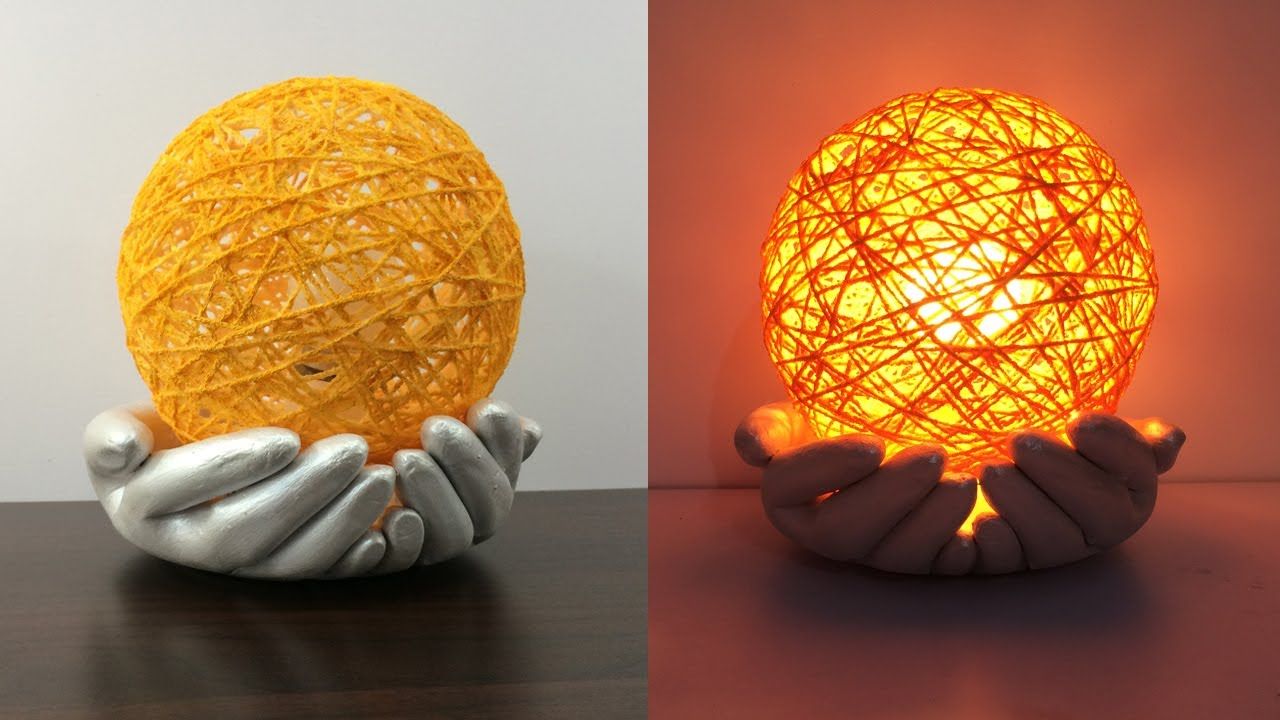
Creating a hand support from gloves for your zen moon light is easy and can be done with just plaster and water. All you need to do is follow these steps:
1. To start, you will need two plastic gloves, some plaster of paris or air-dry clay, and some water. Take the gloves, cut them off at the wrists leaving a few inches of material at the tips.
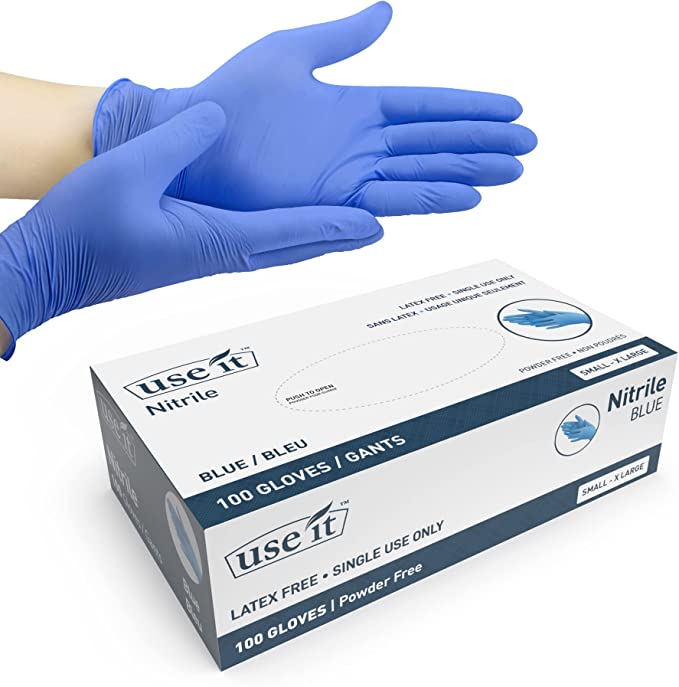
Nitrile Gloves 100 Count – Latex Free Gloves for Cooking and Food Prep, Surface Cleaning, and Travel Use
2. Now take the plaster of paris or air-dry clay and mix it with enough water to form a thick paste that can stick together easily when formed into shapes with your hands but not so thin as to run off your fingers or drip apart quickly when dried.
3. Take both pieces of glove material now in their moldable forms (with a little extra for overlapping) and press them together where they overlap along one side forming an inner base layer for support inside each glove (forming two inner layers). Make sure there’s an even amount of overlap between each glove before pressing down firmly on both sides until securely attached but not too tight so that they become uncomfortable while wearing them once dry).
4. Now onto the part where we shape our glove molds! This part requires more detailed work as this step helps provide additional contour support within each mold – which will help hold up our zen moon light safely during use later on once fully assembled! Starting from both edges working inward towards center – create small round indentations about half an inch deep across entire inner surface area pushing outwards makes larger shaped indentations gradually decreasing in size outwardly until desired coverage has been achieved across entire surfaces collectively...repeating same process accordingly on outer layers ensuring evenly distributed consistent depth throughout all areas.)
5. Once complete let molds set overnight allowing internal structures time to harden/set before assembling next step involving adding weights/weights adjustments if necessary - this also gives us time needed to rethink design/layout if changing any details further supplementation may be necessary due to varying weight requirements depending on what type /size zen moon light being used here).
Finally after letting molds set completely overnight add Plaster Of Paris over top making sure it covers all exposed areas around outer edges securing weight placements within overall structure then let dry completely minimum 24-48 hours depending before adding more plaster if heavier weights required afterwards now ready assemble final product according tot instructions provided previously...and viola; your own custom made hand support specifically designed for carrying around your own personalized zen moon light!!
For FAQs Related to Zen Moon Lamp, Please check it out this post: 👇https://ravingtools.ghost.io/ghost/#/editor/post/63b70e7c8c0f3d003d05f152
FAQs About plaster
1. Question: What is plaster used for in ceramics?
Answer: Plaster is commonly used in ceramics to make molds, support fragile pieces, and absorb excess moisture from clay. Plaster provides a hard surface for working with clay which can be used to form the shape of the desired object or piece. It is also often used as an aid in decorative techniques such as glazes and slips. During the firing process, plaster helps to prevent warping by absorbing some of the water from greenware (unfired) clay before it has been fired. Plaster can also help control shrinkage during drying and firing which could cause cracks or breakage if left uncontrolled. Finally, plaster molds allow ceramicists to replicate intricate shapes that would otherwise be difficult or impossible to achieve on their own due to its smoothness and strength when dry. In short, plaster plays an important role in both making and finishing ceramic creations!
2. What happens if plaster gets in clay?
Answer: If plaster gets into clay, it can cause a variety of issues. Plaster reacts poorly to moisture, so the clay could become brittle and may even crack over time. This could make it difficult to craft with the clay and cause its shape to be altered as well. If it's glazed or fired after having contact with plaster, you could also end up with some strange colors which could globally affect your project’s finished look. In order to avoid any damage from plaster being introduced into your work, you should always keep separate containers of each material in order to avoid contamination between them.
3. How do you mix plaster with ceramics?
Answer: Mixing plaster with ceramics can be an art form and a science. When working with these two materials, you must pay attention to the details and be sure to use the proper techniques in order to achieve desired results.
When mixing plaster and ceramics, it is important to choose a good quality plaster that is easy to work with. The consistency of the materials should also be taken into account; if either the ceramic or the plaster are too wet or too dry, achieving successful results will not be possible. After measuring out both substances according to your desired proportions, mix them together thoroughly until all lumps have been removed and a homogenous mixture has been achieved.
Once both components are properly mixed, they can then be applied as needed depending on what type of design you're looking for; if thicker layers of ceramic material are desired, start at the bottom first before moving up toward the surface area so that any added weight is evenly distributed throughout your project. Make sure not to apply too much pressure on delicate pieces during this process as they may break or crack due to excessive pressure! Additionally, once you've transferred all contents over from one container into another for better application purposes - make sure notto forget about cleaning up afterwards!
4. Question: Does plaster stick to bisque?
Answer: Yes, plaster does stick to bisque! Bisque is an unglazed, porous ceramic material that has an absorbent surface ideal for adhesion. Abrasion and chemical cleaners can be used to roughen up the surface of the bisque before applying plaster, allowing for a stronger bond. After prepping the surface, regular craft or pottery plaster can be applied with either a brush or trowel and allowed to dry completely before use. As with any type of adhesive application, however, it's important to make sure you clean both surfaces thoroughly before attempting adherement in order to avoid dirt-induced imperfections in your project.
5. Question: What are the 2 types of plaster?
Answer: The two main types of plaster are gypsum and lime plaster. Gypsum plaster, also known as Sheetrock or drywall, is a popular building material in modern times because it is easy to use and relatively inexpensive. It is made from a mix of cement bonded sand, water, gypsum dust with some added additives. The ingredients are mixed until they form a paste that can be spread easily over the surfaces of walls or ceilings where it will then harden and set. Gypsum plaster provides an even finish that can be painted over for the desired look.
Lime plaster on the other hand is traditionally used in older buildings due to its strength and durability when compared to gypsum plaster. It consists of limestone that has been heated in kilns until it produces quicklime which is then combined with water to produce a slurry mixture used for applying onto various surfaces like brick or stone walls as well as wood-based structures like doors or cabinets. Lime plaster provides excellent insulation against both fire and sound making it preferable for certain applications such as schools where safety regulations must be strictly observed Furthermore lime plasterers usually carry out more detailed texturing techniques than those used with gypsum owing to its ability to be applied thicker while remaining flexible enough not crack excessively over time when drying
6. Question: What are the three types of plaster?
Answer: There are three main kinds of plaster used in home-building today: cement plaster, gypsum plaster, and lime plaster. Cement plasters are the most common type and are well-known for their durability; they’re a mixture of Portland cement, sand and water. Gypsum plasters, which use a combination of gypsum powder, water and sometimes coloring agents, have fewer shrinkage cracks than other types but can be more porous than cement-based ones. Finally, lime putty is an older form that uses slaked lime mixed with sand or other aggregate material to create an even stronger product—though it requires specific environmental conditions to work correctly and is less popular these days due to its unusual requirements for use.
7. Question: How long does ceramic plaster take to dry?
Answer: Ceramic plaster typically takes 7-10 days to dry completely, although the exact time varies depending on the temperature and humidity of your environment. If you live in a humid climate, or if you’re plastering inside a home during summer months, the drying process will take longer than in drier climates. You should use a hygrometer to test your environment's moisture level before starting any project with ceramic plaster. Once you begin working with it, keep an eye on its moisture content using either special ceramic-plaster testing strips or more general humidity testing strips. As well as helping to maintain ideal drying conditions for up to 10 days post-application, these tools can help tell you when your project is nearing completion.
8. Question: What is the correct mix for plaster?
Answer: The correct mix for plaster depends on the type of job you’re doing. Generally, for a one-coat application, you should use a ratio of 1 part Plaster of Paris to 2 parts clean water, or 1 part masonry cement to 3 parts sand and 4 parts clean water. For two coats, use a ratio of 1 part Plaster of Paris to 5 parts clean water or 1 part masonry cement to 3 parts sand and 4 parts lime. Make sure that all your materials are mixed together well in order for the plaster to adhere correctly and create an even finish!
9. Question: Can I use normal plaster for pottery?
Answer: No, regular plaster (sometimes referred to as gypsum) is not suitable for pottery. Plaster is not suitable for use in extremely high temperatures, which means that it can't be fired in kilns. As a result, it will not achieve the same hard density required of proper ceramic pieces. This could lead to breakages and other problems if you attempt to fire your pottery with regular plaster. The best option for pottery is a specific type of clay known as earthenware or stoneware. These types of clay can withstand extreme temperatures when they are fired and become very hard and durable pieces, perfect for making quality pottery.
10. Question: Which type of plaster is best?
Answer: Carlite plaster, is one the best type of plaster, and is usually put on jobs that are being done with other types of plaster. For example, you could use carlite after applying a thistle, to cover up any imperfections in the background.