

Are you tired of the same old style at your home? Do you want to add a touch of creativity to your decor? Then you may love this DIY tiered tray project! Creating different tiers for your decor is a unique way to add some personality to your home. It’s easy to build, and you can have fun choosing decorations that reflect your style. In this guide, we’ll show you how to build your own tiered tray.

Gather your materials
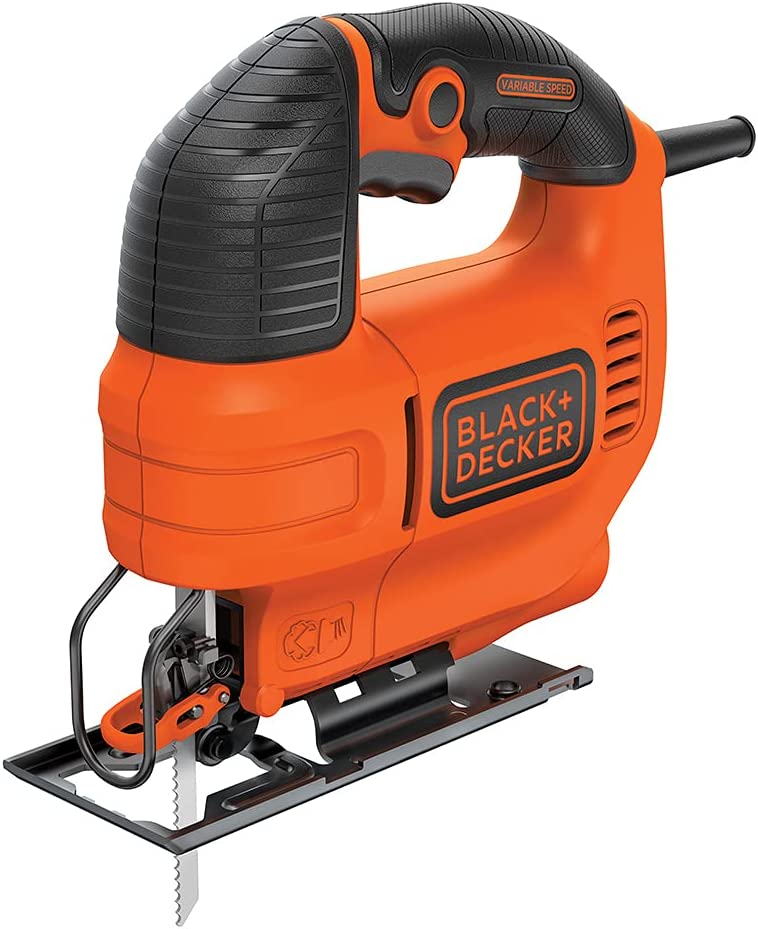
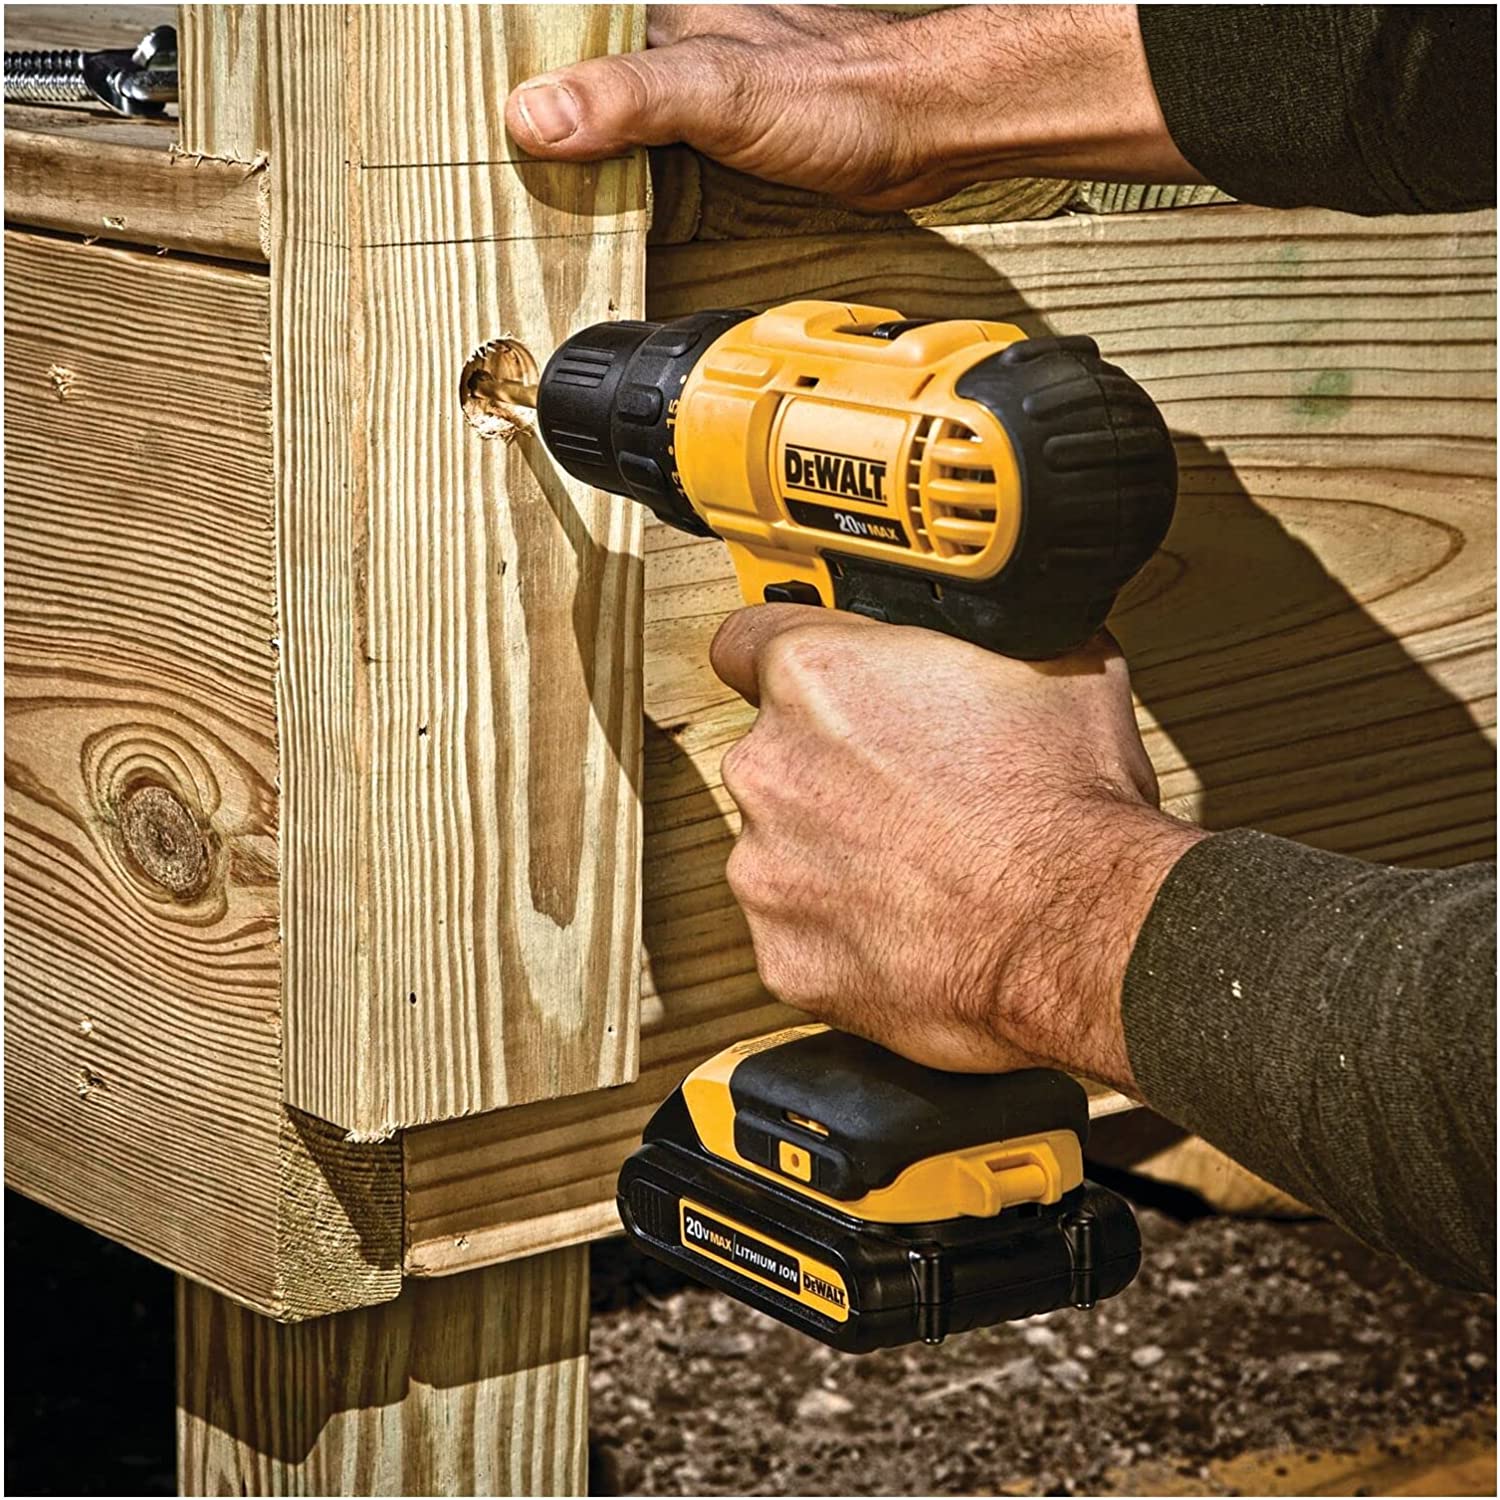
To start this project, first, gather the materials. You will need a power saw with a blade strong enough for wood cutting, a drill, wood glue, sandpaper, a two-tiered cake stand, and 3 boards of different sizes. You can purchase the boards at your local hardware store. We recommend using pine wood, as it’s affordable, durable, and easy to work with.
Cut the Wood
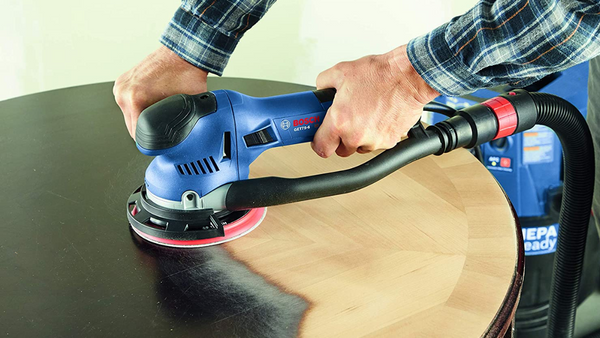
After gathering materials, you can begin the cutting process. Cut the boards into circles of different sizes, with the larger board at the base. Use the saw to achieve perfect circles. If you want to, you can also add some curves or any shape of your choice. Sand down the edges of the boards to avoid splinters.
Drill Holes
Next, it’s time to drill holes for the pole to go through. Make sure the holes on each board align with each other to maximize stability. You can use a Forstner bit to drill the holes since it will create accurate size holes.

Assembly
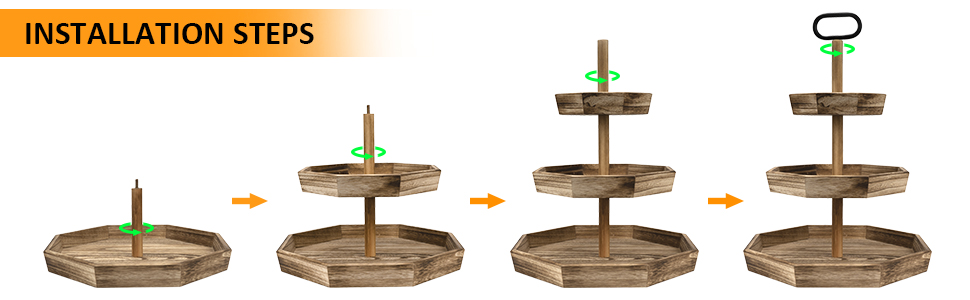
When all pieces are cut, drill, and sanded, it is time for assembly. Apply glue to the edges of each board where nails would be used and stack them, then insert the pole through the hole in the bottom board and screws the nut at the end of it. Repeat this for the other two boards. Wipe away any excess glue and leave to dry for a few hours.
Decorate
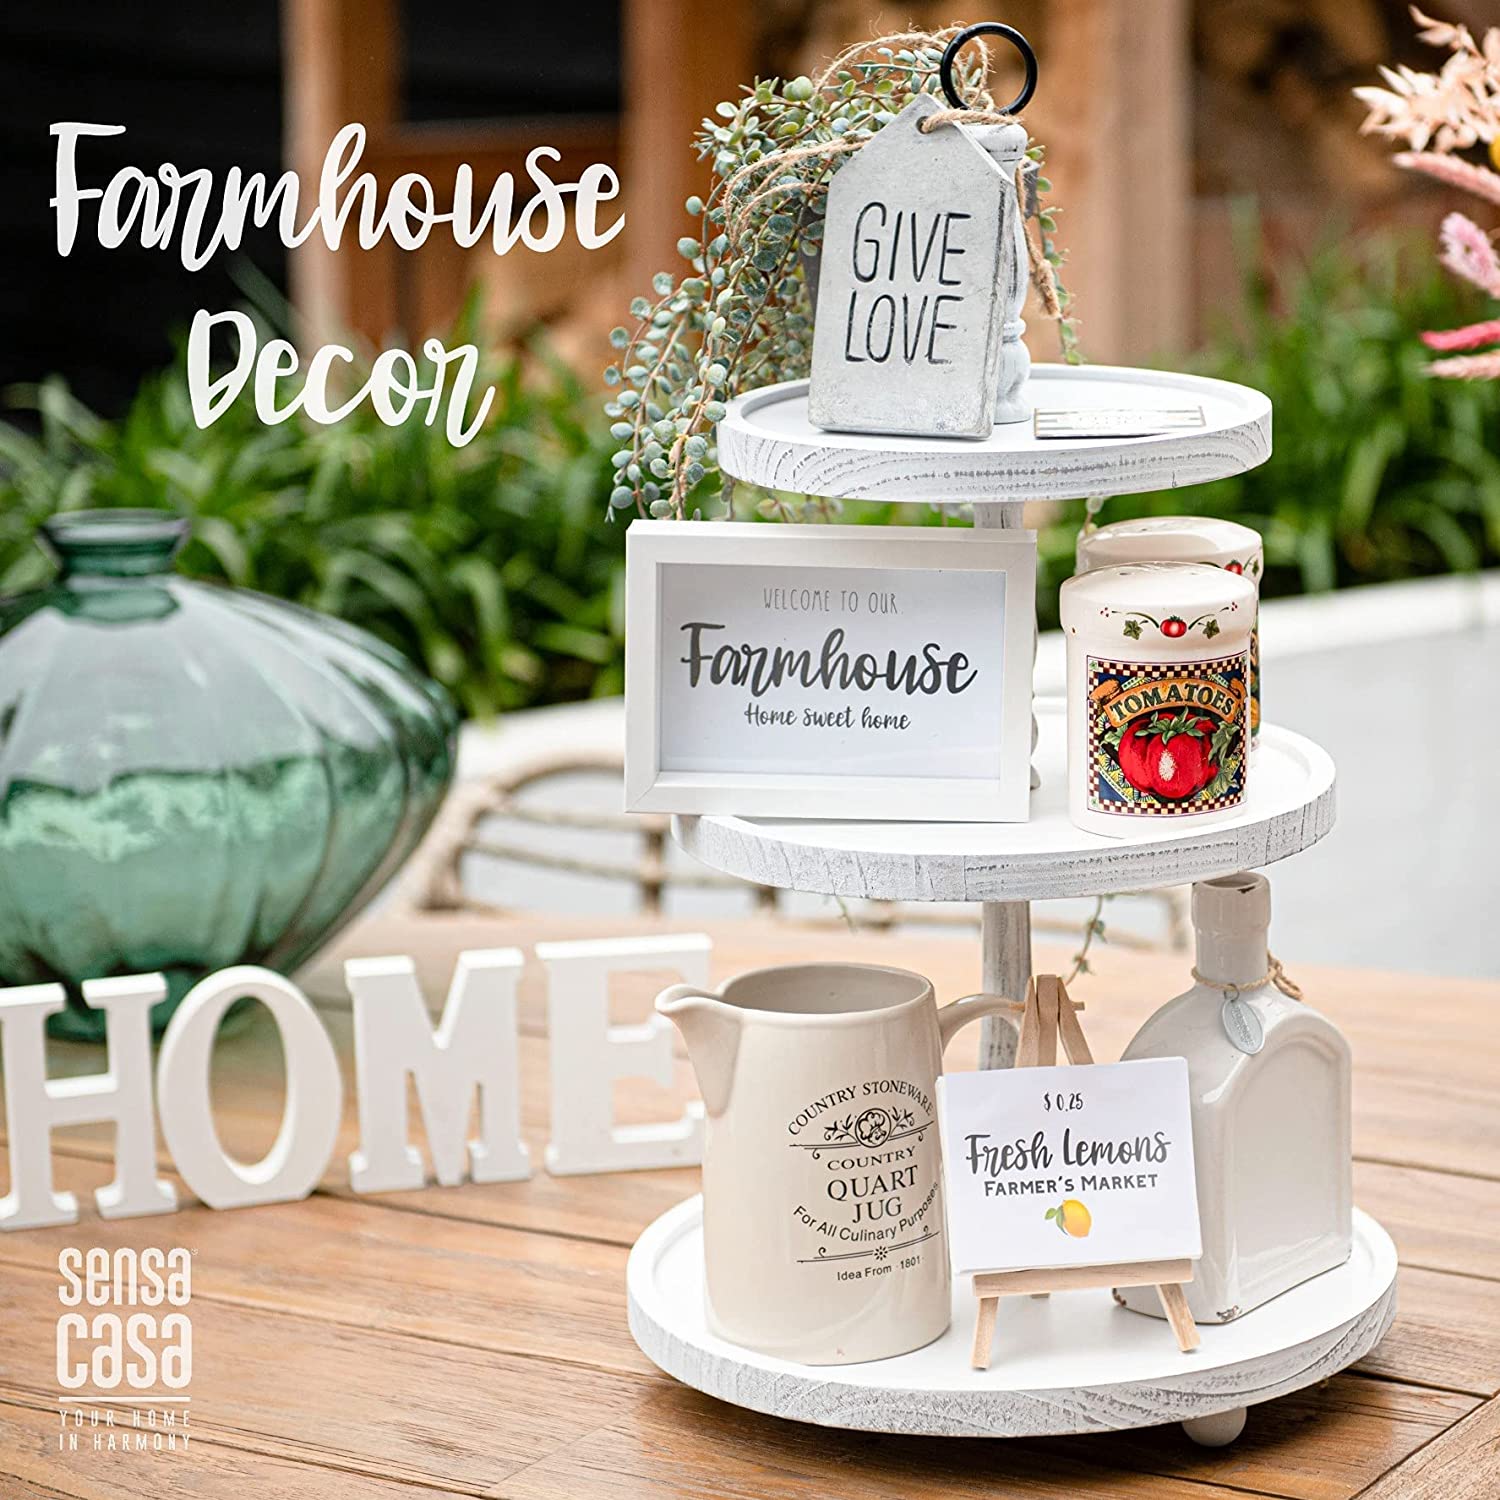
Now, let's get creative and make it look beautiful by decorating it. You can add decorations like succulents, candles, fresh flowers, or custom-made decorative items that reflect your style. With this step, the possibilities are endless; you can adjust, and change it whenever you like.
Want More Ideas For Winter?👇😀
 Cristiane Govaski
Conclusion:
Building a tiered tray doesn't require immense skills or long hours to build. It’s a simple yet practical decor addition that is also functional. With different materials, shapes, and colors to choose from, you can adapt the project to suit your taste and preference.
Try this DIY tiered tray project and see how it spruces up your home with a touch of creativity. Don't forget to share your experience, and encourage others to make their tiered tray projects as well.