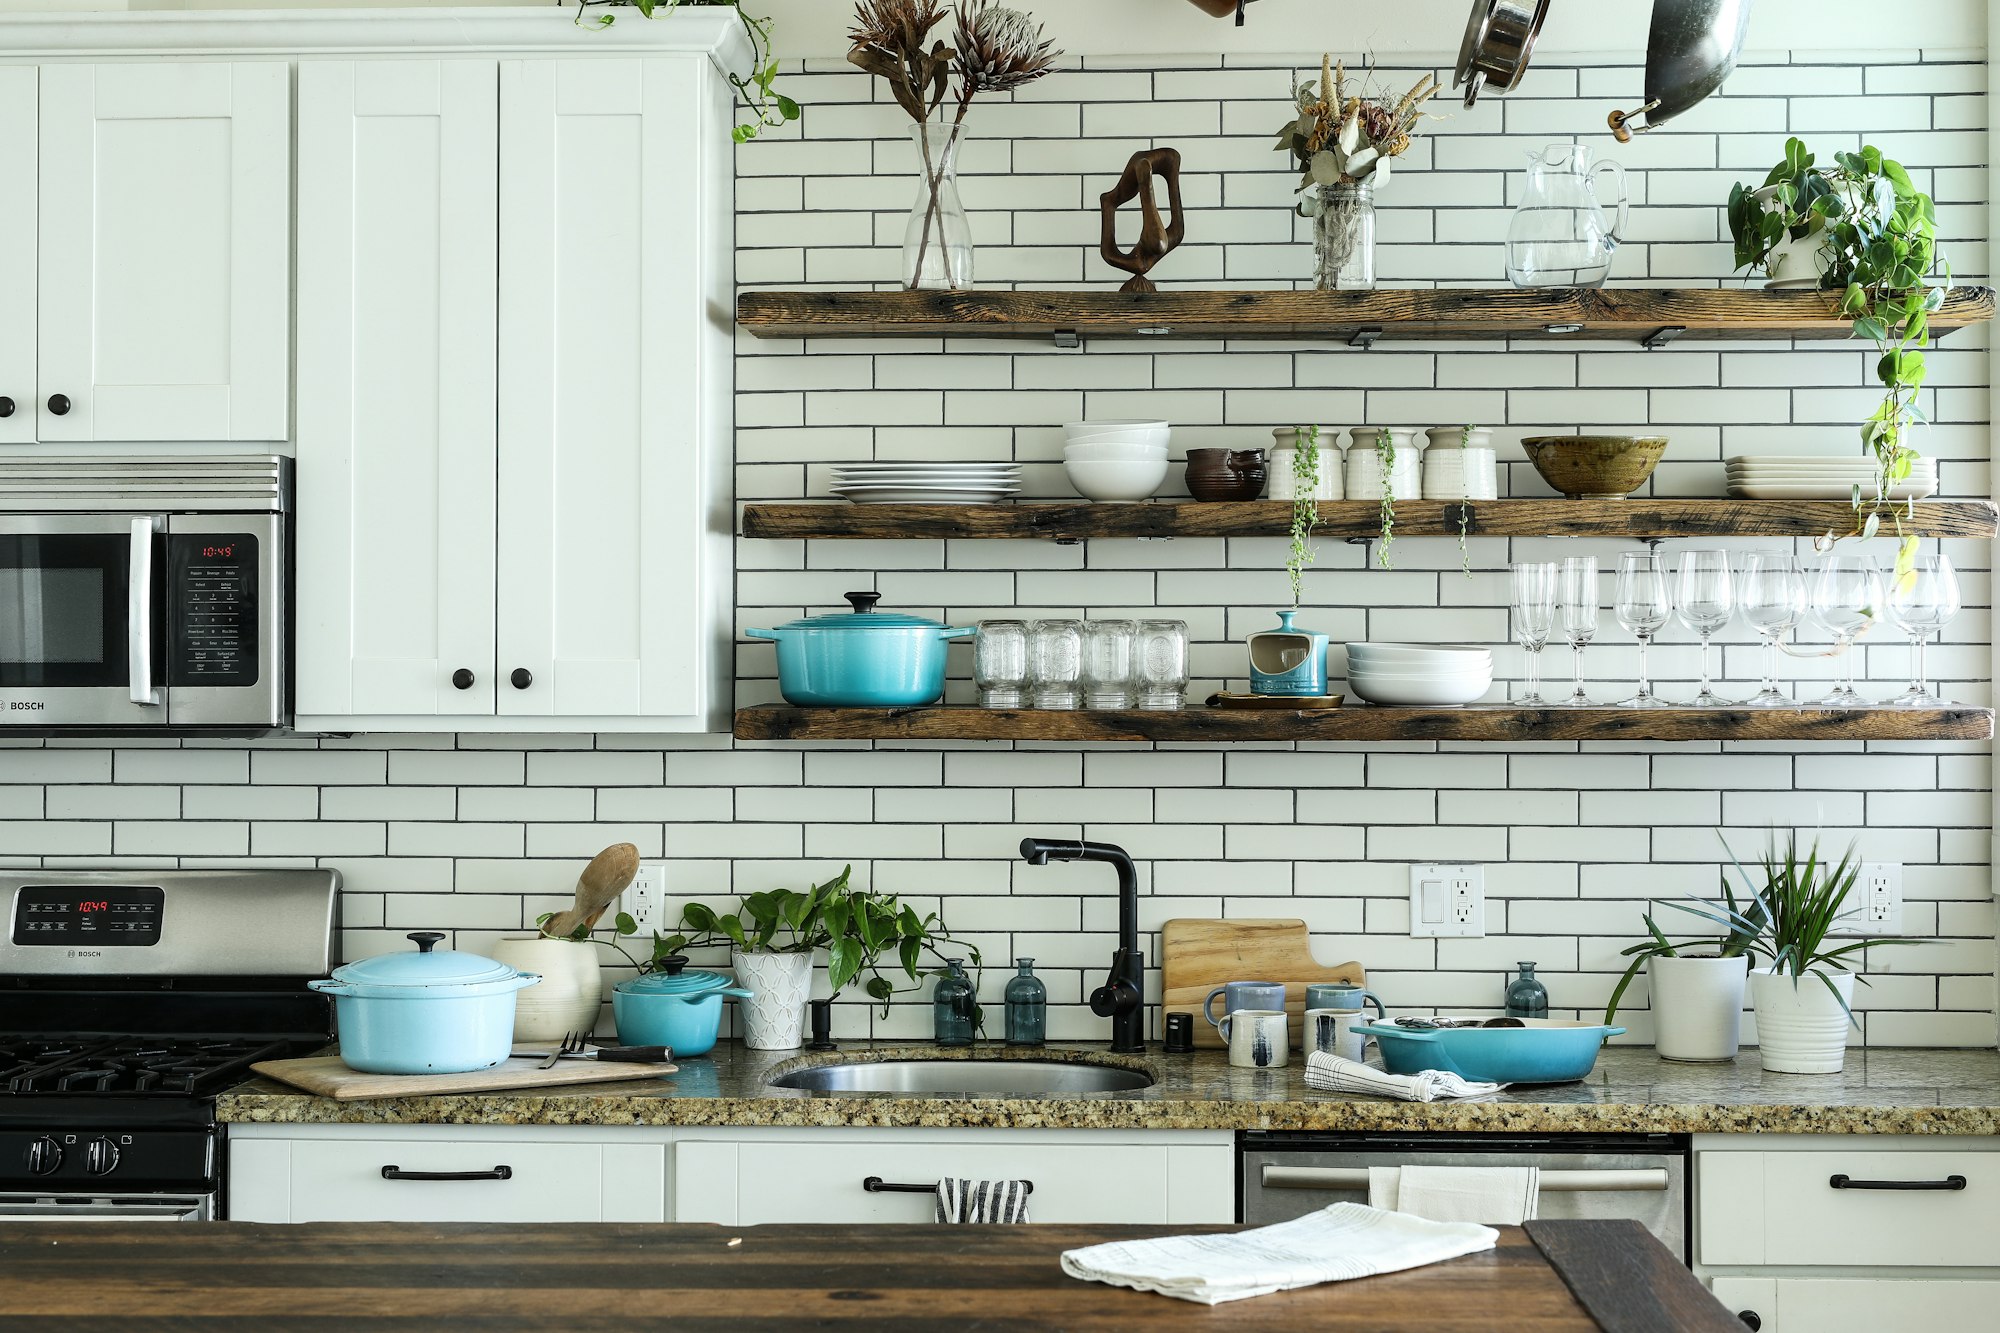
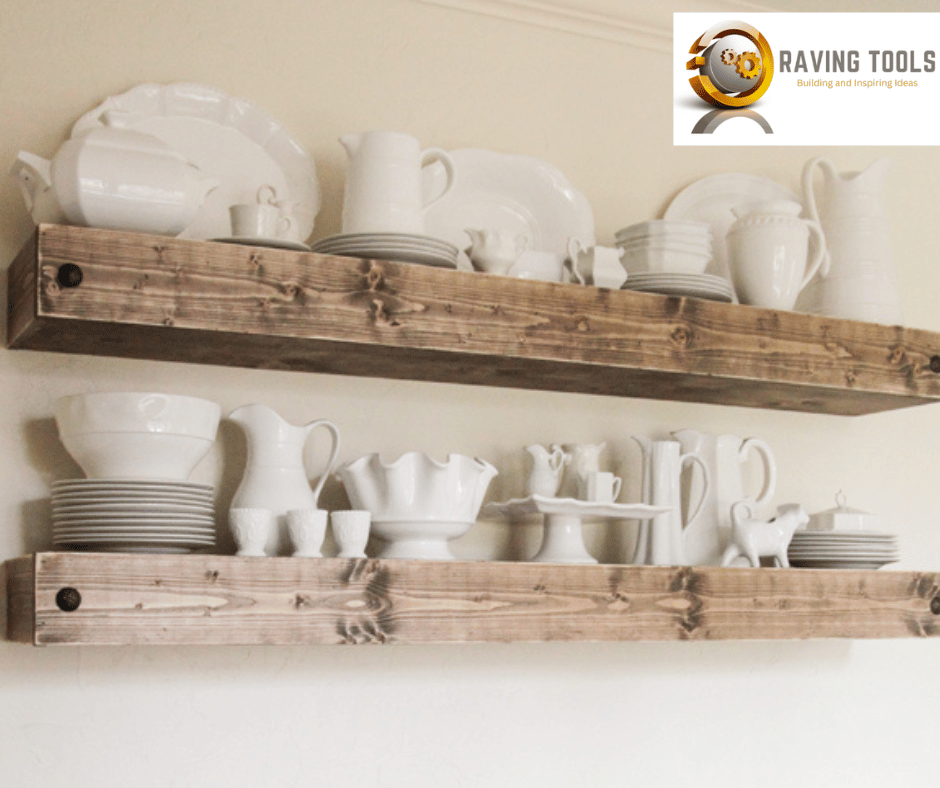
Floating shelves are a great way to add storage and style to any room of your house. They’re especially popular in kitchens and bathrooms, but they can also be used in just about any room of the home. Today we’ll focus on how you can use a barnwood floating shelf with a farmhouse-style look that will provide both style and function for your home. Let's dive into all the ways you can style a barnwood floating shelf!
Choose Your Hardware Carefully
The hardware you choose for the floating shelf is an important part of getting the look you want. If you’re going for a more modern look, consider using black or silver screws or brackets. If you want a more rustic, farmhouse feel, go with brass or copper screws or brackets. You can even opt for decorative hooks or other types of hardware that will enhance the aesthetic of your shelf.
SRIWATANA Hanging Floating Shelves, Wood Wall Shelves Rustic Storage Shelves Wall Mounted for Bathroom, Bedroom, Living Room, Kitchen - Dark Walnut
Incorporate Unique Decorations
Another great way to style your barnwood floating shelf is to incorporate unique decorations like baskets, plants, books, jars, and other items that fit the theme of your space. For instance, if you’re going for a farmhouse-inspired look, try adding rustic items like an old milk jug or antique pitcher. Or if you want something more modern, try adding sleek pieces like vases and sleek wood décor pieces. Add Interesting Finishes.
Finally, don’t forget to add interesting finishes to your barnwood floating shelf. You could choose to paint it white or another color that complements the rest of your décor. You could also stain it for added dimension and texture. Or if you really want to make it stand out from the rest of the room, try using chalkboard paint so that you can write messages directly onto the shelf itself!
Calenzana Oval Floating Wall Shelves Set of 3 Rustic Wood Wire Frame Hanging Shelf for Bathroom Bedroom Kitchen Living Room
Final Thoughts:
Floating shelves are an easy and stylish way to add storage space and character to any room in your home—especially when it comes to styling them with barnwood! Whether you choose brass hardware for an old-fashioned feel or chalkboard paint for something modern and unique, there are plenty of ways to customize them so they perfectly match your desired aesthetic! With these tips in mind, go ahead and get creative with this must-have home décor item today!
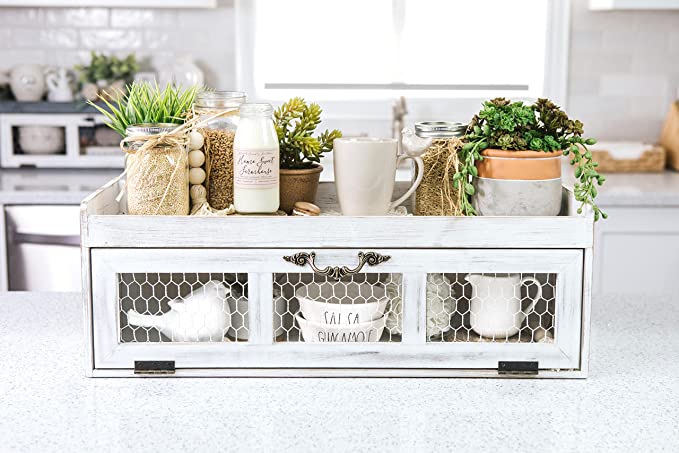
Farmhouse Chicken Wire Countertop Shelving Cabinet and Decor Organizer with Pull Down Door by Felt Creative Home Goods - Country Style Bathroom or Kitchen Storage Space Saver for Decorative Display

DIY💪 How to make a floating barnwood shelf
Let's face it: barnwood shelves are the perfect way to add a rustic, vintage feel to any interior décor. But did you know that you can create a floating shelf with this material? It may sound intimidating, but we promise it's actually pretty simple! Here are the steps to make your own beautiful, hanging barnwood shelf.
Gather Your Materials -
Firstly, you'll need some solid wood (preferably a mix of light and dark boards), heavy-duty furniture screws or nails, wood glue and clamps. You may also want to have some lightweight brackets in case your wall isn't strong enough for gravity alone.
Calculate & Cut -
Measure out the desired length of your shelf and cut it down into two equal parts using a saw. Next up is chiseling out notches in each piece so they fit together perfectly when assembled later on. Be sure the depth is consistent across both pieces, so that they form an even platform once glued together.
Assemble & Hang -
Apply generous amounts of glue along each notch before clamping them until set (this could take anywhere from 15 minutes to an hour depending on how tight your clamps are). Once done gluing together, attach mounting brackets or hangers directly onto the backside of your shelf for easy hanging onto walls or doors alike! Keep in mind different surfaces will require different hardware; be sure to double check what works best for where you plan on placing yours first!
And just like that you’re all set with a unique floating barnwood shelf ready spruce up any living space! Hopefully this helps answer how exactly one makes their own floating barnwood shelves – super easy noh?
FAQs
1.What to know before installing floating shelves?
Answer: Before installing floating shelves, there are some important things to consider! First, measure the height of your walls and make sure you have enough clearance for your shelves. Second, figure out what kind of weight the wall can hold. Third, choose a material that is both aesthetically pleasing as well as durable. Finally, make sure you have access to all necessary tools and supplies such as a drill and level - because without them it's pretty hard to get those shelves up there without any bumps along the way!
2. How much weight can DIY floating shelves hold?
Answer: DIY floating shelves can hold up to 50 lbs when properly installed! The secret? Finding the correct anchors for the wall. Depending on the size of your shelves and material used, you should use either plastic or metal anchors that fit securely into wall studs or hollow walls. Consider using washers with your anchors, too — they help distribute weight evenly along each bracket’s length and may also provide extra protection from rough edges against the wall surface.
3. How do you make rustic wood floating shelves?
Answer: DIY rustic wood floating shelves are a great way to add a unique touch of character to your home without breaking the bank! All you need is some scrap wood (or reclaimed pallet), screws, nails, and basic hand tools. To get started: First, measure the wall space where you want your shelf and then cut two or three wooden boards accordingly. Next, mount them securely on the wall using screws or metal brackets. Finally, sand down any rough edges and finish with an optional coat of paint or wax sealant for extra protection. You'll be amazed at how easy it can be—and proud of yourself for creating such beautiful décor!
4. How do you make a floating shelf stronger?
Answer: If you want to make your floating shelf super strong, there's a few things you need to do. Firstly, think about the weight that’ll be on the shelf and opt for a thicker material like pine or solid wood – more surface area helps distribute the load better. Secondly, use some heavy duty fasteners when fixing it into place like screws or bolts to ensure it won’t slip down over time. Finally, add some extra supports between wall studs and fix in braces underneath the bottom edge of the shelf to keep it securely in place!
5. How much spacing should be between floating shelves?
Answer: If you’re installing floating shelves, the rule of thumb is to space them two feet apart. This allows enough room for whatever items you're displaying while also allowing someone to get close and appreciate the aesthetics of each shelf. Just remember, every home is different, so depending on your specific situation and desired look, you may need to adjust this appropriately.
6. Do floating shelves need to be drilled into studs?
Answer: Absolutely! Installing floating shelves correctly is key to ensuring their long-term stability, which is why it's absolutely essential to drill them into the studs. The studs provide a sturdy base for your shelf and ensure that your shelf stays secure for years and years. If you don't have access to a stud finder or don't want to check behind your walls for obvious reasons, you can still securely mount shelves using supports like drywall anchors, but these typically aren’t as reliable in the long run, so when possible drilling into the studs should always be your top priority.