
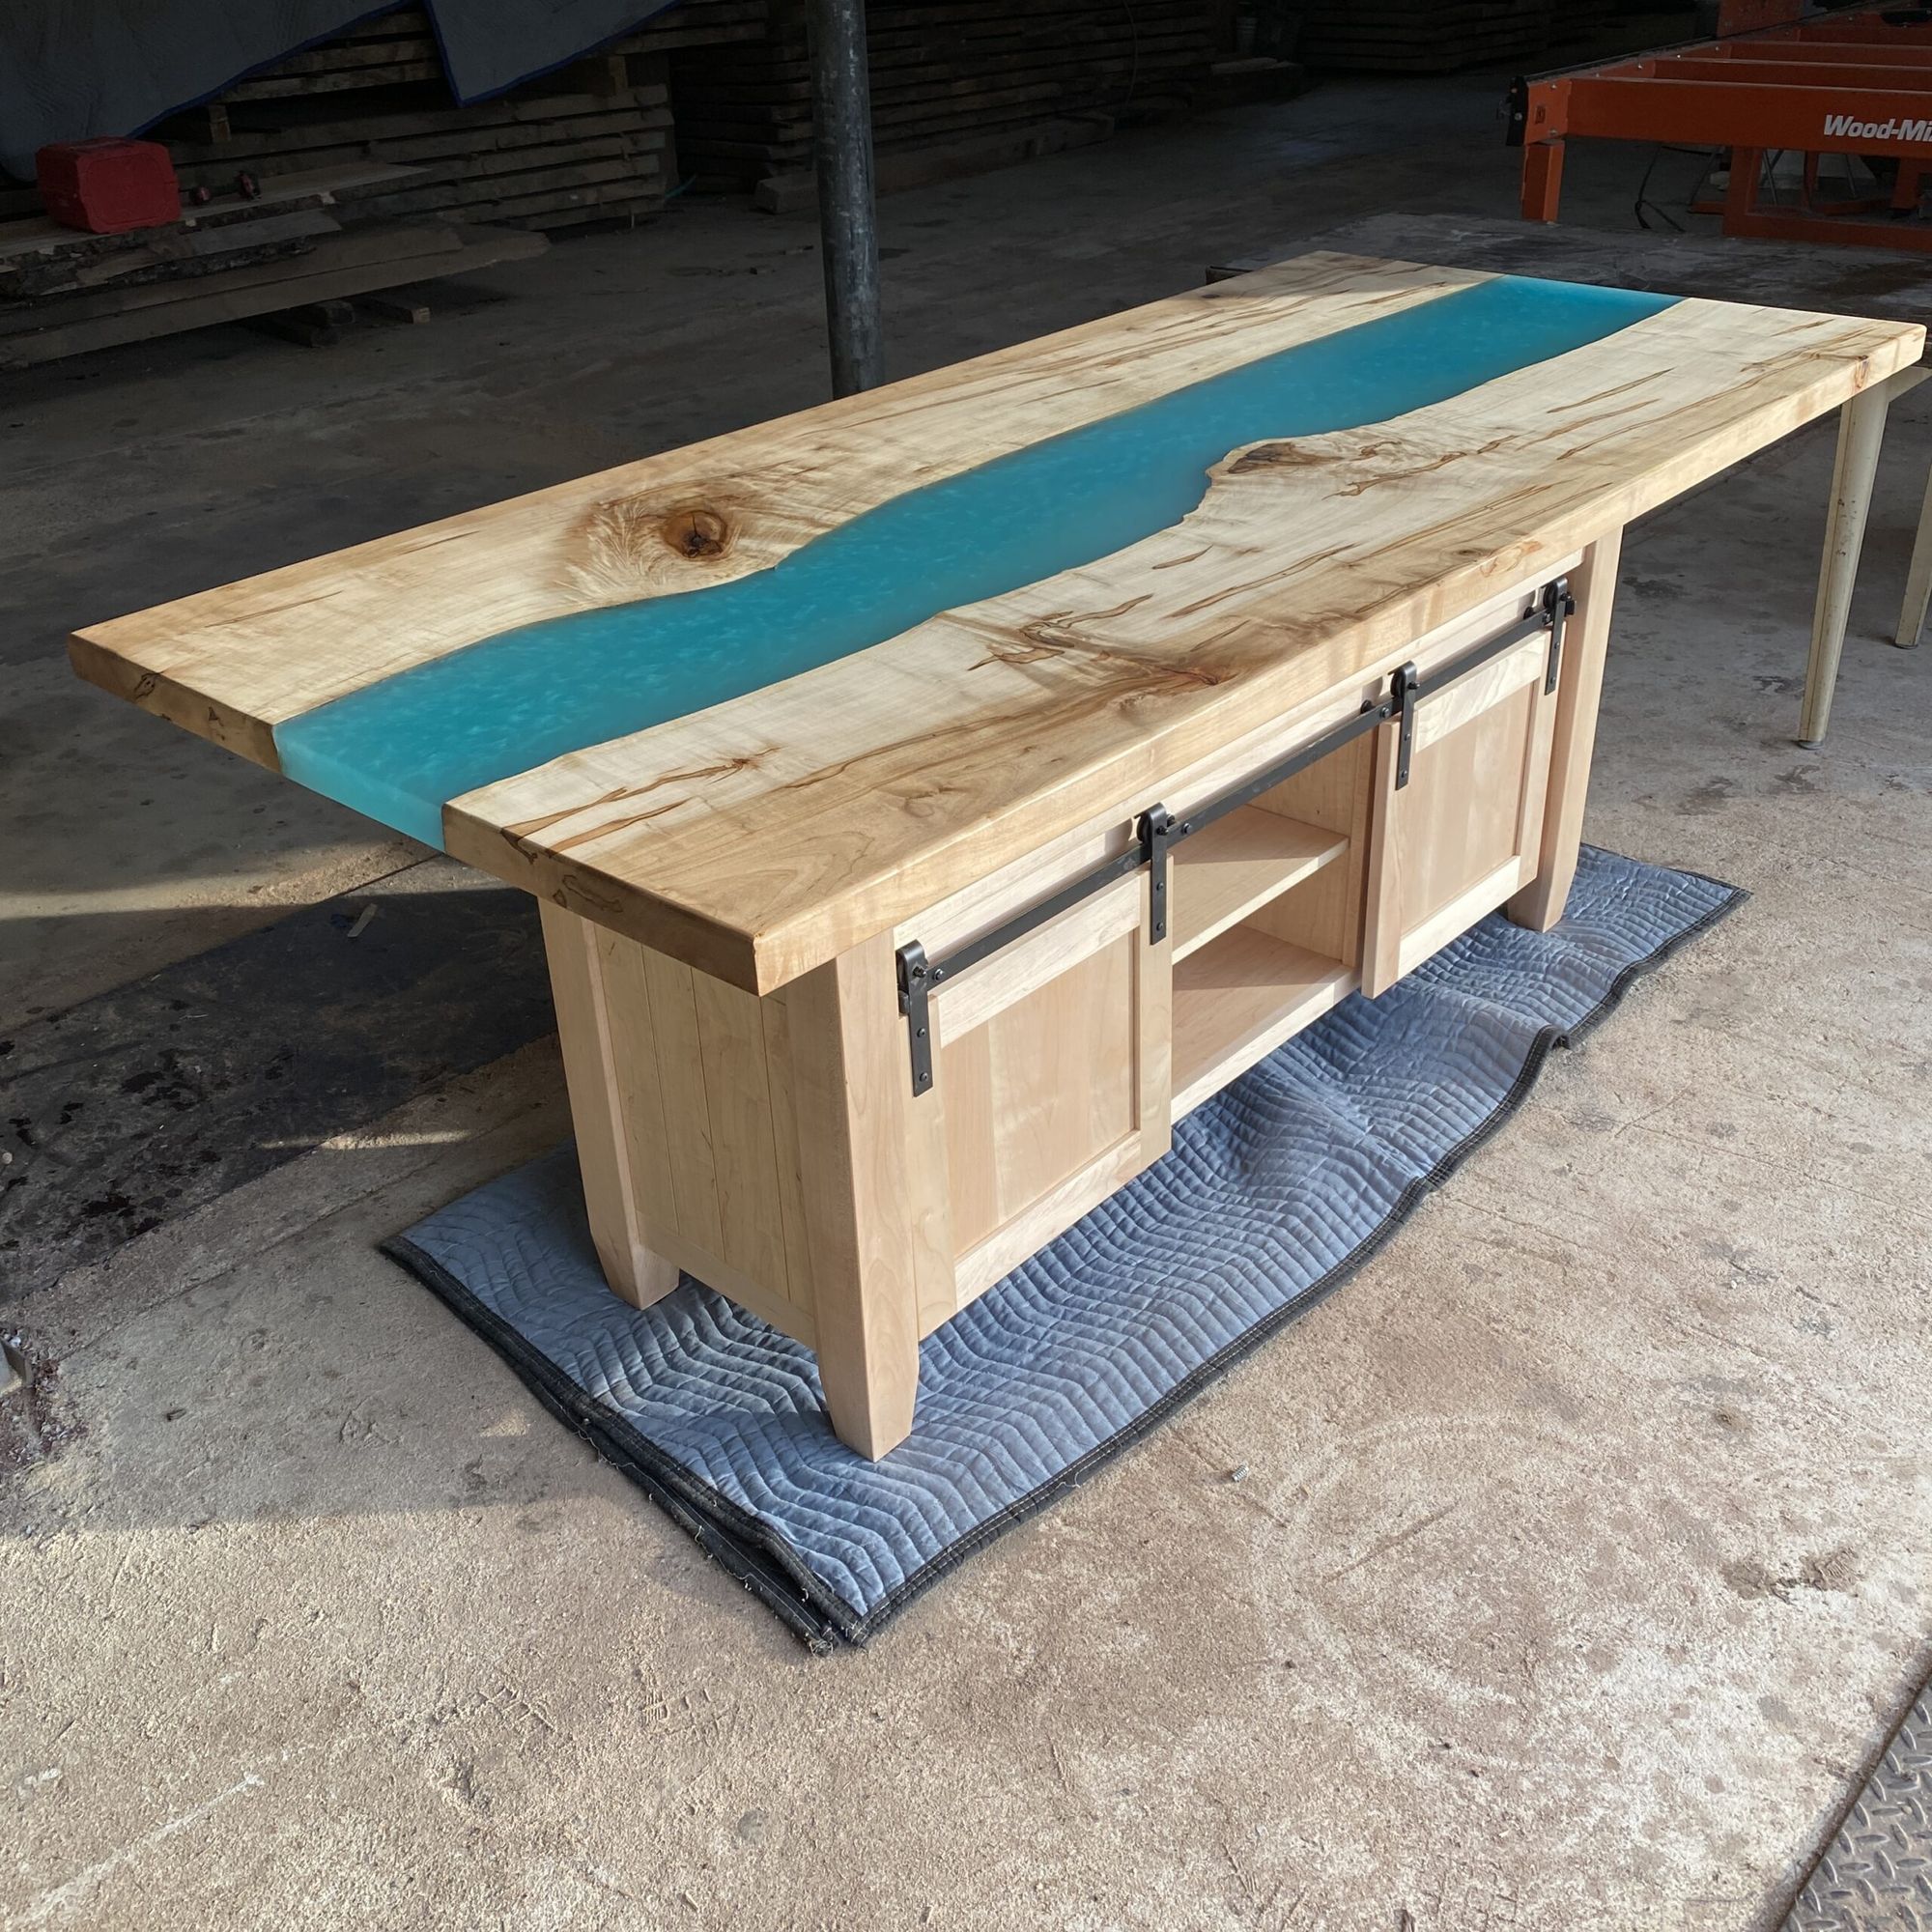
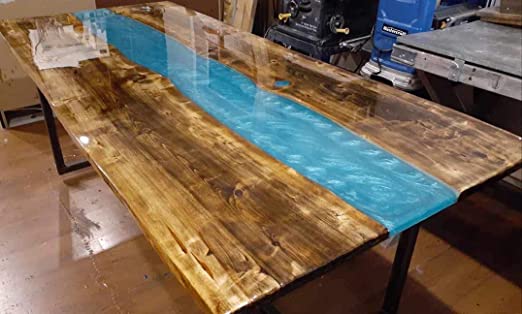
If you’re looking for a way to make the ultimate workbench top, look no further than epoxy. This high-performing material can withstand heavy pressure and still look good doing it.
The result? An epoxy workbench top that will last through any project you put it through. But don’t worry—you don’t need an expert to achieve great results. Here’s how you can make your own DIY epoxy workbench top!
Gather Supplies🛒🛍️
The type of epoxy you use will depend on the kind of benchtop you want to create. For example, if you want a thicker finish, opt for bar-top epoxy; if you want something thinner, go with table-top epoxy.
Either way, make sure to get all the supplies necessary for application before beginning your project. That includes things like
. sandpaper,
. paint brushes, and
. epoxy resin/hardener mix.
Prepare the Surface
Before applying any epoxy, it’s important to prepare the surface of your workbench top first.
Start by sanding down any rough spots or splinters.
Once done, wipe down the entire surface with alcohol or acetone to get rid of any dirt or dust that may have been left behind from sanding.
After that, let your benchtop dry completely before applying any resin or hardener mix.
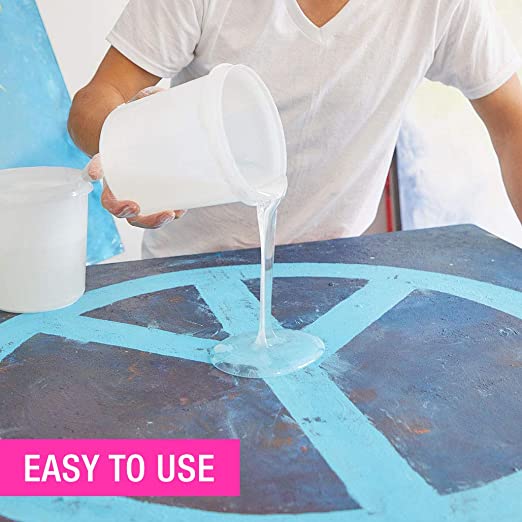
Apply Epoxy Resin/Hardener Mix
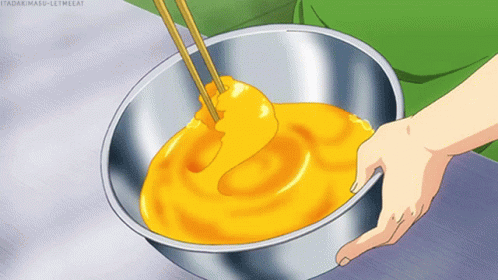
Once your benchtop is prepped and ready to go, it’s time to apply the resin/hardener mix.
To do this correctly, pour out a small amount of each component onto your clean workbench surface and begin mixing them together with a stir stick or paint brush until they are evenly blended together (this should take about 5 minutes).
Next, spread the mixture over your entire benchtop in smooth strokes until there are no more noticeable streaks in the mixture—working quickly is key here as epoxies dry fast!
Finally, let the mixture dry for up to 24 hours before moving on to step 4.
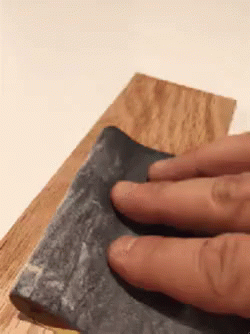
Finish it Off with Sandpaper & Polyurethane
Now that your epoxy has dried completely (this usually takes around 24 hours), it’s time for one final touch: sandpaper and polyurethane!
Begin by lightly sanding down any imperfections in your workbench top until it's perfectly smooth.
Then add two coats of polyurethane over everything for extra protection against wear and tear (letting each coat dry completely between applications).
And voila––you now have an epic DIY workbench top made entirely out of epoxy!
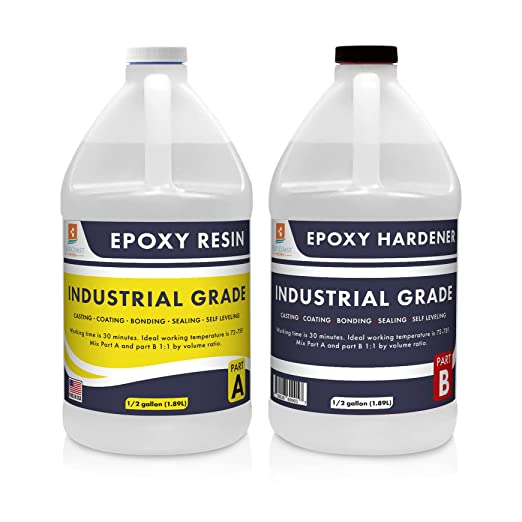
Epoxy Resin 1 Gallon Kit Industrial Grade | Easy to Use, Super Strong, Glossy, Clear, Water-Resistant | for Bonding, Sealing, Casting, Coating, Filling, Gluing - (1/2 Gallon + 1/2 Gallon)
Why We Love It:
The East Coast Resin 1 Gallon Kit Industrial Grade is perfect for creating customized works of one-of-a-kind artisan craftsmanship.
Whether you're looking for bonding, sealing, gluing, or coating countertops, bartops, tabletops, river tables, jewelry, coffee tables, arts & crafts, and more, this epoxy resin kit is the perfect choice.
Specially designed for DIY projects, this epoxy is ultra-high performance and delivers clear, flawlessly transparent epoxy coatings with no crawling, trickling, craters, or "fish eyes".
Plus, it's scratch and water-resistant and offers superior UV-resistance when compared to other industry brands.
What You Should Know:
When it comes to epoxy resins, there's simply no better choice than the East Coast Resin 1 Gallon Kit Industrial Grade.
Whether you need it for home projects, construction/industrial projects, or simply for creative endeavors, this epoxy resin and hardener kit delivers the highest quality results.
Plus, the easy-to-use formula makes it a breeze to mix and apply. So why wait? Get the East Coast Resin 1 Gallon Kit Industrial Grade today and let your creativity shine!
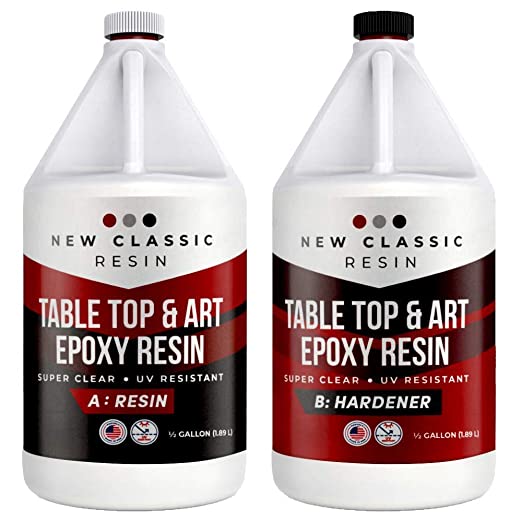
EPOXY Resin 1 Gallon kit for Art, Crafts & Table Tops, Super Clear
Why We Love It:
EPOXY Resin 1 Gallon kit for Art, Crafts & Table Tops, Super Clear is perfect for creating unique and stunning art, crafts, jewellery, table tops, bar tops, wood coatings, stone and much more.
This unique and exclusive formula is engineered to be the most Clear, Scratch & UV Resistant in the market. Plus, it is easy to use with simple 1 to 1 mix and includes step by step instructions.
With EPOXY Resin 1 Gallon kit for Art, Crafts & Table Tops, Super Clear you get superior scratch, UV and moisture resistance that will last for years to come.'
What You Should Know:
New Classic Resin Table Top & Art is proudly made in the USA and is a Canadian owned company based in Toronto.
Each kit contains a bottle of resin 0.5 Gal. and a bottle of hardener 0.5 Gal., which provides a coverage of 12 Square feet at 1/8 of an inch thickness.
So why wait? Get your own EPOXY Resin 1 Gallon kit for Art, Crafts & Table Tops, Super Clear today and start creating unique and spectacular artworks!
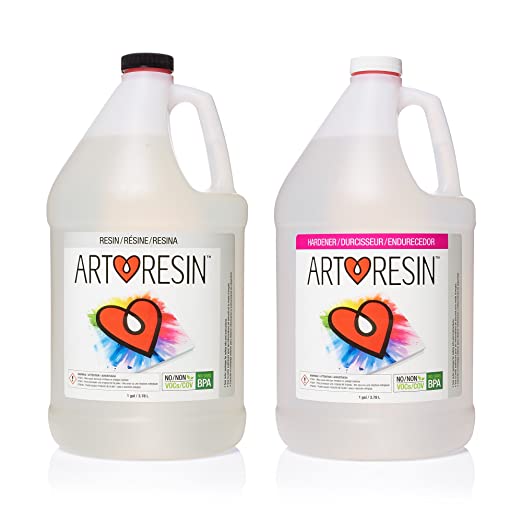
ArtResin - Epoxy Resin - Clear - Non-Toxic - 2 gal (1 gal resin + 1 gal hardener) (7.57 L)
Why We Love It:
ArtResin - Epoxy Resin - Clear - Non-Toxic - 2 gal (1 gal resin + 1 gal hardener) is a must have for all creative minds and DIYers! It is specifically designed for art and engineered to offer unparalleled non-yellowing protection.
This epoxy resin is also non-toxic and certified food safe. It is self-levelling and has a 1:1 mixing ratio, making it user-friendly.
Plus, it is UV and HALS stabilized to provide optimal clarity, and it increases the attractiveness and value of whatever it is used on.

What You Should Know:
ArtResin is made for artists by artists and is safe for home use when used in a well-ventilated area.
It has no VOCs, BPA, fumes, or solvents and is non-flammable. It has an ideal room temperature of 24-30ºC / 75-85ºF and a working time / pot life of 40-60 minutes.
Plus, it has a shelf life of 1 year unopened and 6 months opened and it makes a great gift for anyone who loves to create. So why wait? Get your own ArtResin kit today!
🙋♀️All About Epoxy FAQs
Are you looking for a way to make your own epoxy workbench top? It can be hard to know where to start, especially when there are so many different DIY tutorials and materials out there.
We understand how overwhelming it can be to try and figure out how to make an epoxy workbench top, so we've compiled a list of the most frequently asked questions about DIY epoxy workbench tops.
With this guide, you can make an informed decision about the best materials and techniques for your project.
1.What is the best finish for a workbench top?
The best finish for a workbench top is a hard-wearing, durable finish that will protect the wood from wear and tear. A good option is to use a polyurethane finish, which is a clear, oil-based finish that is both waterproof and heat resistant. It is also very easy to clean and maintain. Additionally, you can also choose to apply a wax finish, which provides a layer of protection and gives the workbench top a natural shine.
2.How do I protect the top of my workbench?
One way to protect the top of your workbench is to use a protective finish. This can be a sealant, wax, or varnish that will help protect the wood from scratches, dents, and other damage. Additionally, you can use a benchtop cover to provide further protection, as well as a layer of cushioning against impacts. Finally, you can also use a benchtop mat to provide even more cushioning and protection against spills and other messes.
3.How do you keep epoxy from running over the edge?
The best way to keep epoxy from running over the edge is to use a dam or a barrier of some kind. You can use painter's tape, putty, or other materials to create a barrier that will stop the epoxy from running over the edge. Additionally, you can use a slow-curing epoxy to give you more time to work with it and make sure it doesn't run over the edge. Finally, make sure to apply the epoxy in thin layers, as this will help it stay in place.
4.Can you sit on epoxy?
No, you should not sit on epoxy. Epoxy is a strong adhesive that is used to bond two surfaces together, and it is not designed to support weight. Sitting on epoxy can cause it to crack and chip, which can weaken the bond and cause it to fail. It is also not designed to provide any cushioning or comfort, so it is best to avoid sitting on epoxy.
5.What is the most durable workbench finish?
The most durable finish for a workbench is a polyurethane finish. Polyurethane is a type of plastic that is highly resistant to scratches, stains, and wear. It is also very easy to clean and maintain. Polyurethane can be applied to the workbench in either a glossy or matte finish, depending on the desired look. It is also available in a range of colors to match the décor of any workspace.
6.How thick should a workbench table top be?
The ideal thickness for a workbench table top is 2 inches. This thickness provides the necessary strength and stability for a wide range of activities, such as woodworking, metalworking, and electronics. It also provides enough surface area to support larger tools, such as a drill press or miter saw.
What should I put down before epoxy?
Before applying epoxy, it's important to make sure the surface is clean, dry, and free of any dirt, dust, or debris. You should also make sure the surface is free of any oils or waxes, as these can interfere with the adhesion of the epoxy. You should also consider using a primer or base coat to help the epoxy adhere better and provide a better bond. Finally, you should consider using a release agent like wax paper or PVA to help the epoxy release from the surface after it has cured.
Should you sand between coats of epoxy?
Yes, it is recommended to sand between coats of epoxy. This helps to create a smoother and more even surface. Sanding also helps to remove any imperfections in the epoxy, such as bubbles or brush marks. Sanding between coats also helps to create better adhesion between the coats, which will result in a stronger and longer lasting finish.
What surfaces does epoxy not stick to?
Epoxy does not stick to surfaces that are greasy, oily, or waxy. It also does not stick to surfaces that are too smooth, such as certain types of plastic or glass, or surfaces that are not properly prepared. Epoxy will not stick to surfaces that are not clean and dry, as dirt and moisture can interfere with the adhesion of the epoxy.
What not to do with epoxy?
Epoxy should never be used in areas where it will come into contact with food, as it can be toxic if ingested. Additionally, epoxy should not be used in areas where it will be exposed to direct sunlight, as this can cause the epoxy to degrade or discolor. Finally, epoxy should not be used in areas where it will be exposed to high temperatures, as this can cause the epoxy to become brittle and crack.
Can you put hot things on epoxy countertops?
No, you should not put hot items directly on epoxy countertops. Epoxy is a resin-based material, and the heat can cause it to warp and discolor. It's best to use a trivet or hot pad to protect your epoxy countertop from heat.
When should you not use epoxy?
Epoxy should not be used in applications where it will be exposed to temperatures above 250°F (120°C). It should also not be used in applications where it will be exposed to direct sunlight, as it can degrade over time. Additionally, epoxy should not be used in applications where it will come into contact with hydrocarbons, petroleum products, or other chemicals that can react with the epoxy.
Conclusion:
If you've ever wanted an ultra-durable workbench top that will stand up against even the toughest projects while still looking good afterwards then an epoxy workbench top may be just what you're looking for!
With some supplies like bar-top or table-top epoxies plus basic tools like paintbrushes and sandpaper anyone can create their own custom DIY workbench tops perfect for those weekend projects—all without needing professional help!
So what are you waiting for? Get out there and start making those epic DIY projects now with an amazing DIY Epoxy Workbench Top!
Now... I Would Love ❤️To Hear Hear From You!😃🫵
1. What is your favorite thing to make with an epoxy workbench top?
2. How do you like to use your epoxy workbench top?
3. What projects have you completed with your epoxy workbench top?
4. Do you have any tips or tricks for working with epoxy?
5. What would you say is the best thing about having an epoxy workbench top?